
Every Day We Fight Walkthrough: Opening and Combat
A practical Every Day We Fight walkthrough: the opening fights, aiming, cover, Overwatch, and what actually carries over between time loops.
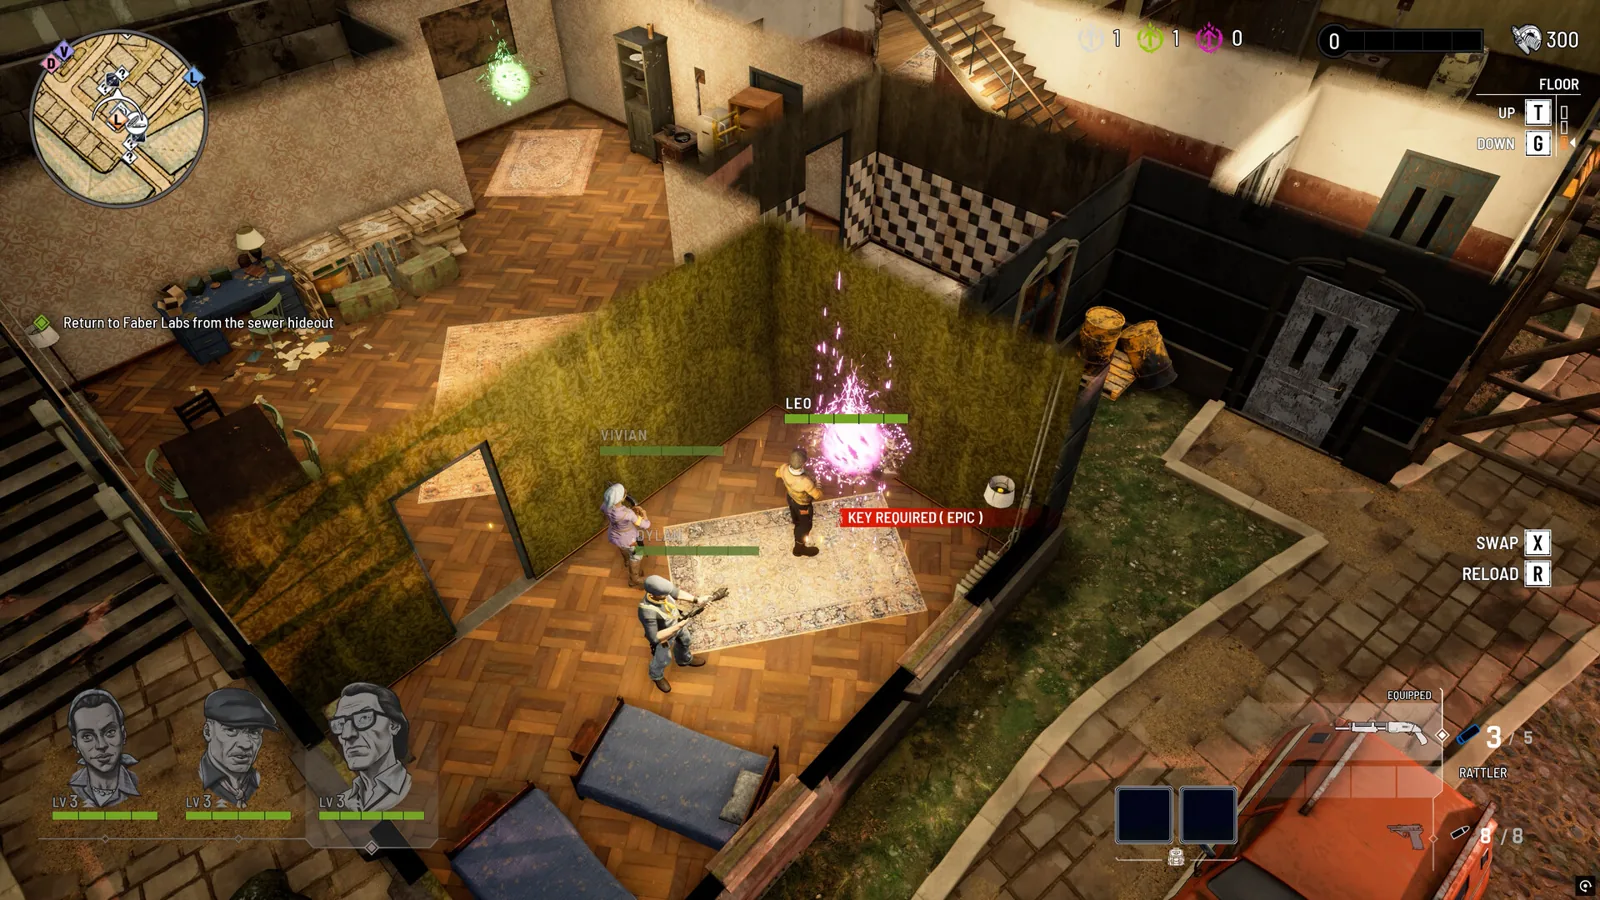
Table of Contents
There is no single official route document for Every Day We Fight, but you do not need one to get moving: the opening hour is heavily tutorialised, and the loop itself is the walkthrough. This page takes you from the first firefight outside Faber Labs through the first two resets and the trip to the Rugosa Hotel, then explains the combat rules you will reuse for the rest of the campaign. If you want a full mission-by-mission route instead, the Steam Community hub hosts a three-part Full Gameplay Walkthrough guide by DualShot66 alongside Hooded Horse's beginner's guide.
Before you start
- Version matters. The game left Early Access on 22 October 2026 with the 1.0 update, which added manual and in-combat saves, reworked progression, fast travel, click-to-move, new mission types and a Heat risk/reward meter. The scene-by-scene detail below comes from a recorded early-access playthrough, so exact enemy placement and loot in your 1.0 run can differ.
- Expect to die on purpose. Death restarts the day; experience, skills and anything you have discovered stay with you. That is the design, not a failure state.
- Know your three Thorns. Dylan, Leo and Vivian each carry their own skills and reflex actions, and you can switch between them mid-turn.
The opening: Faber Labs to the first reset
This is the sequence shown in a full walkthrough video of the early-access build, and it is the most useful stretch to learn on because it teaches almost every system.
- First firefight outside the lab. The squad is dropped into combat straight away. Use it as a tutorial: put an exposed Thorn into cover, throw a grenade at a cluster rather than a lone target, and aim each shot yourself instead of trusting a hit percentage.
- The blocked bridge. The route forward is blocked by a van. Shoot the van's gas tank and it clears. The game points at this, but the habit is the lesson — red tanks and cracked walls are the level design's way of saying "shoot here".
- Pick up the bandages near the van. Healing items are sparse early on; the playthrough grabs them on the way past rather than saving them.
- The collapsed wall. Further in, a wall blocks the path and explosives are the answer again: shoot the gas tank on the wall to blow a hole through.
- The parking lot. Rifter engineers and guardians are waiting. The squad clears them before going inside so they cannot follow, and gas canisters in the lot can be detonated to soften them up.
- Karg. The armoured Rifter leader turns up, the squad is wiped, and the loop resets. That is scripted — you are meant to lose here.
How a combat turn actually works
The in-game tutorial prompts in that playthrough set out the basics, and they hold for the rest of the game:
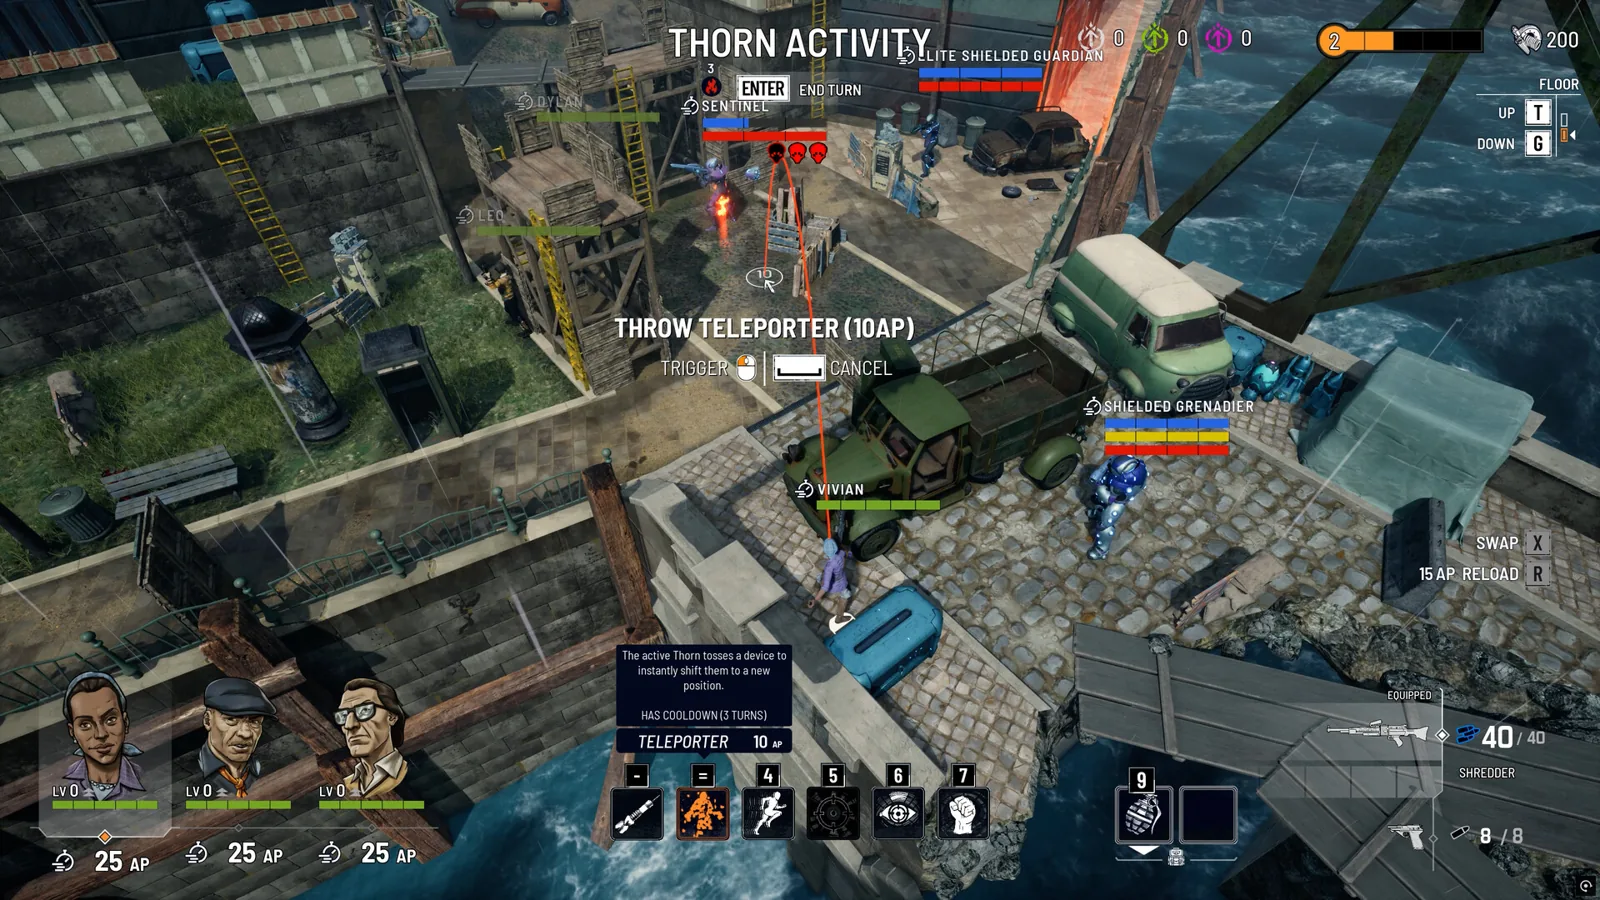
- Every unit has a limited pool of Action Points. Moving, shooting, reloading and holding breath all draw on it. Up to five unspent points carry into your next turn, which is why ending a turn early is a real tactic rather than a waste.
- Aim manually. As the official Steam page puts it, hit chance is decided by your positioning, your aim and your reaction time, with ballistics accounting for firing angles and obstructions. The Epic Games Store guide makes the same point: aim down the sights for headshots, and use first-person view outside combat too, to spot firing angles, cover and breakable terrain before a fight starts.
- Cover is active, not automatic. In the playthrough the prompt is to hold shift while in gun combat to prop against and hide behind cover — useful for rescuing a Thorn you left standing in the open.
- Overwatch is manual and expensive. Placing an Overwatch cone costs both Action Points and your reflex actions up front, and you cannot use other reflex abilities that turn. When it triggers, you still line the shot up yourself. The Epic guide warns that this locks the character in place, so do not set it where a Rifter will simply walk around and shoot them.
- Reflexes are your emergency dodge. They let a Thorn scramble to nearby cover in slow motion while enemy fire comes in. The Epic guide is honest that this is not a guaranteed escape — and Rifters use reflexes the same way, so expect some of them to bolt when you open fire.
- Grenades are scarce. The Epic guide advises saving them for chokepoints, doorways and tight groups where enemies have nowhere to run, and using them on cracked walls that have no convenient gas tank nearby.
After the reset: what changes, what stays
You wake on the bridge, closer to Faber Labs than where you started. Three things are worth noticing:
- Your gear is not simply restored. Weapons you lost turn up lying around, and the early loot spots refill, so the first minutes of a new loop are a quick re-arm rather than a repeat of the whole opening.
- The battlefield shifts. In the playthrough the van is already moved, the Rifter patrol pattern is different, and the enemy that killed the squad is not standing where he was. The 1.0 notes push this further: combat zones reshuffle every run, so memorising a layout only gets you so far.
- Progress persists. The official Steam page is explicit that newly acquired experience and skills remain across loops, and anything discovered in one loop is available from the start of the next. Since 1.0, rewards are handed out after each fight, so you no longer have to explore to keep levelling.
Kill Karg in the second loop and the squad wakes at a later point in the day again. The squad's own theory in the playthrough is that each leader you kill pushes the wake-up point forward; the Steam page states it plainly — every time a Rifter leader falls, the time loop shifts forward and the Forever War gets closer to ending.
Getting to the Rugosa Hotel
After the second reset, crystallised elixium encrustations block the route, and explosives do nothing to them. Vivian's answer is a frequency resonator, and she triangulates a signal to the Rugosa Hotel. The playthrough's route from there:
- Return to the Thorn base and take gear from the stash — the loadout screen lets you pick what you carry into the next run.
- Spend skill points. Kill Assist, Proximity Punch, Covering Fire and Hologram all show up as options in the playthrough, and the player's own picks lean on utility (donating Action Points, drawing fire) rather than raw damage.
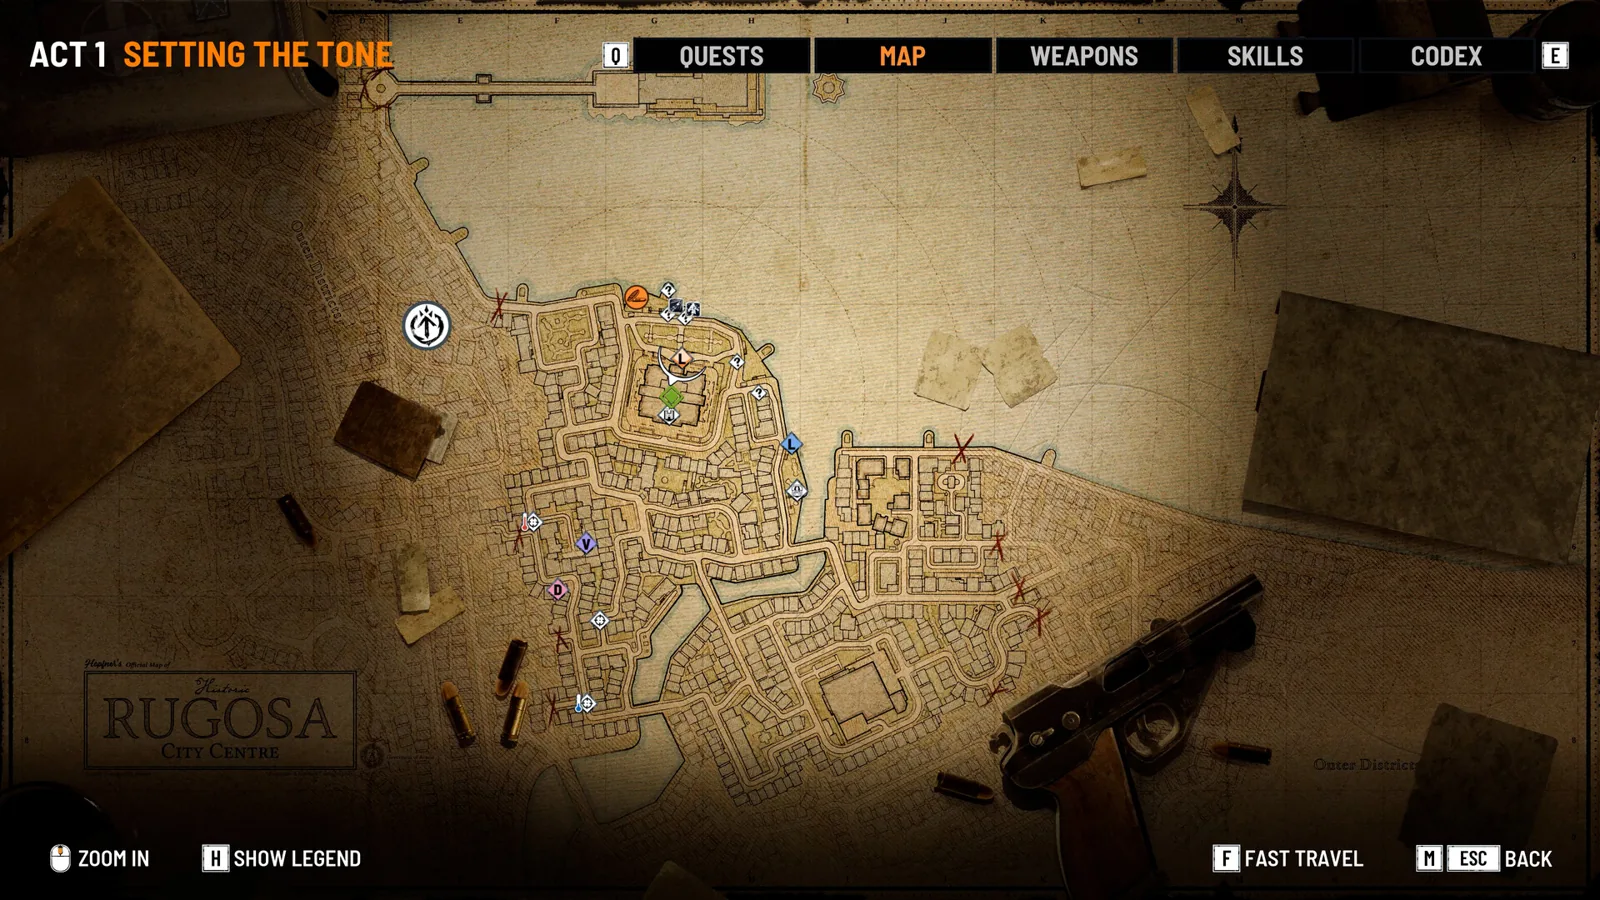
- Fast travel to the hotel district — the playthrough notes it was the only destination unlocked at that point.
- Case the hotel from the street before entering, then clear it to recover the resonator.
When a fight goes badly
- Short on Action Points to reload? End the turn and let the carry-over top you up, or reload earlier in the turn before you spend points on movement.
- Squad wiped in an ambush? That is the loop working. Note where the enemies spawned and which Thorn got flanked, because the next run's patrols will differ but the lesson about cover will not.
- Too hard on your current preset? The 1.0 update added customisable difficulty settings, and the Epic guide notes the developers themselves acknowledged some fights are brutal. Iron Man mode and Forever War mode exist for the opposite preference.
- Want to keep a good run? 1.0 added manual and in-combat saves on top of checkpointing, so you are no longer locked to the roguelite rhythm unless you choose Iron Man.
FAQ
Is there a full Every Day We Fight walkthrough?
The Steam Community hub lists a three-part Full Gameplay Walkthrough guide by DualShot66, plus a beginner's guide from Hooded Horse. This page covers the opening act and the systems you reuse for the whole campaign rather than every mission.
How do I get past the blocked bridge at the start?
Shoot the van's gas tank. The same trick clears the collapsed wall later in the prologue — look for red tanks and cracked surfaces whenever the route is blocked.
Do I lose my progress when the squad dies?
No. Experience and skills carry across loops, and gear you discovered in an earlier loop can be available from the start of the next. Only Iron Man mode resets a portion of your progress on death.
When do the Thorn side quests unlock?
At the start of Act 2. Each of the three Thorns gets one, and they can be completed at any time afterwards, independently of the main story.
Related guides for this game
Guide Guides Index
Every Day We Fight Beginner Guide: Your First Loops
A newcomer's guide to Every Day We Fight: manual aiming, reflex actions, the fixed three-person squad, time-loop carryover and difficulty options.
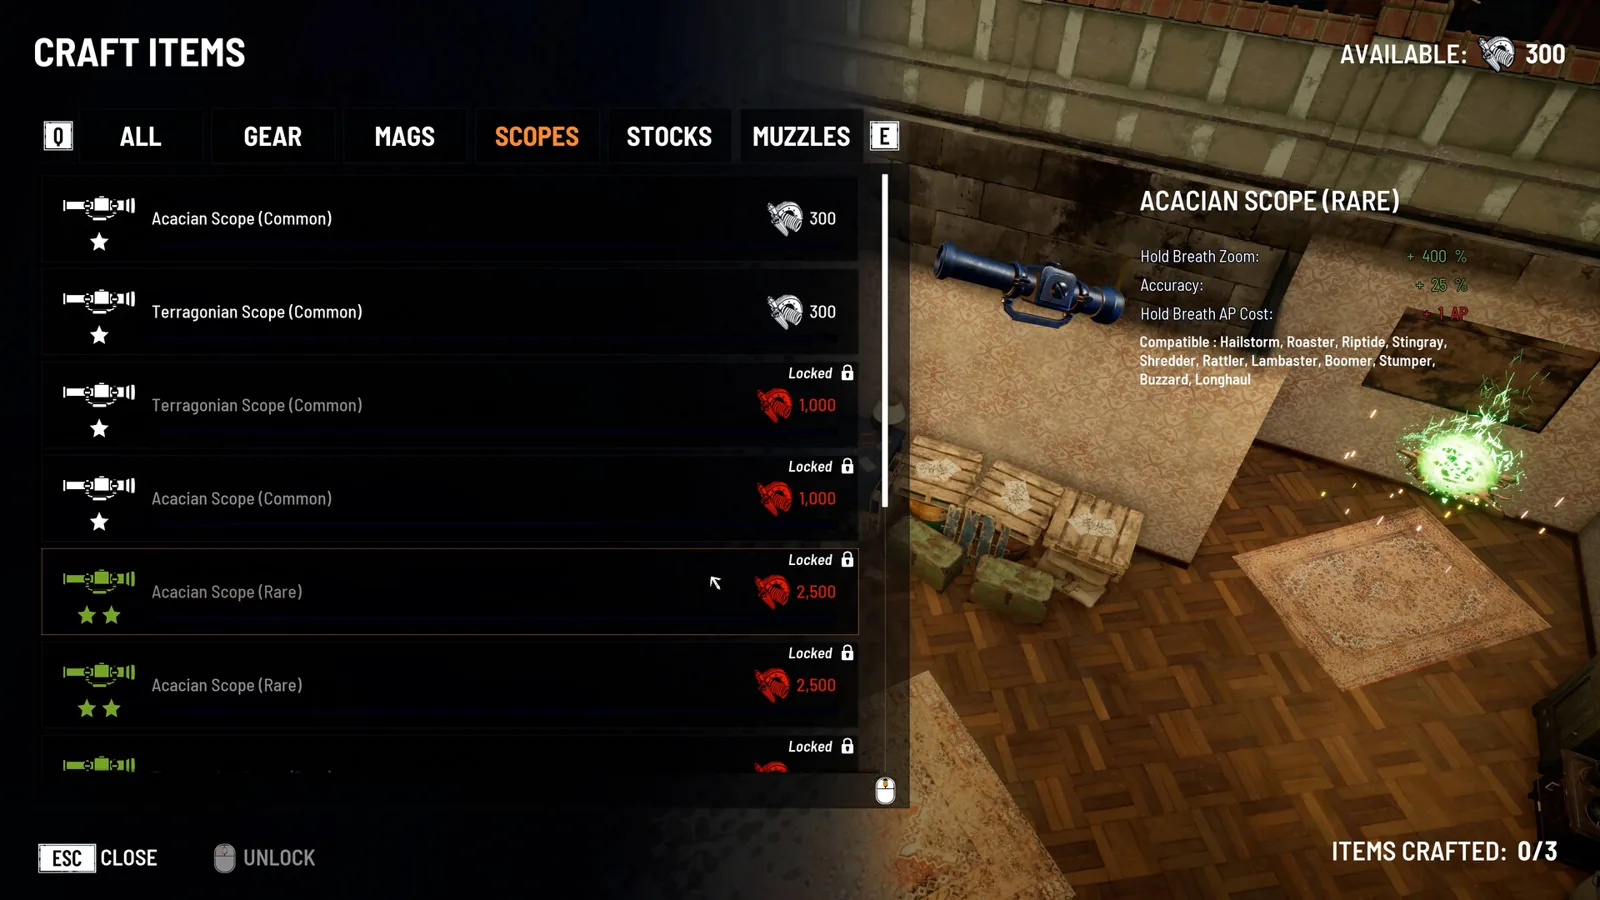
Every Day We Fight Fast Travel in the 1.0 Update
Fast travel is a quality-of-life feature in Every Day We Fight, added during Early Access and included in 1.0. Here's what the notes say.
Every Day We Fight Side Quests: The Three Thorn Stories
Each of the three Thorns has one side quest unlocked at the start of Act 2, playable any time and separate from the main story.
Every Day We Fight Time Loop Progression Explained
What carries over each time the loop resets in Every Day We Fight, what moves the loop forward, and how 1.0 changed progression.
Combat Guides Index
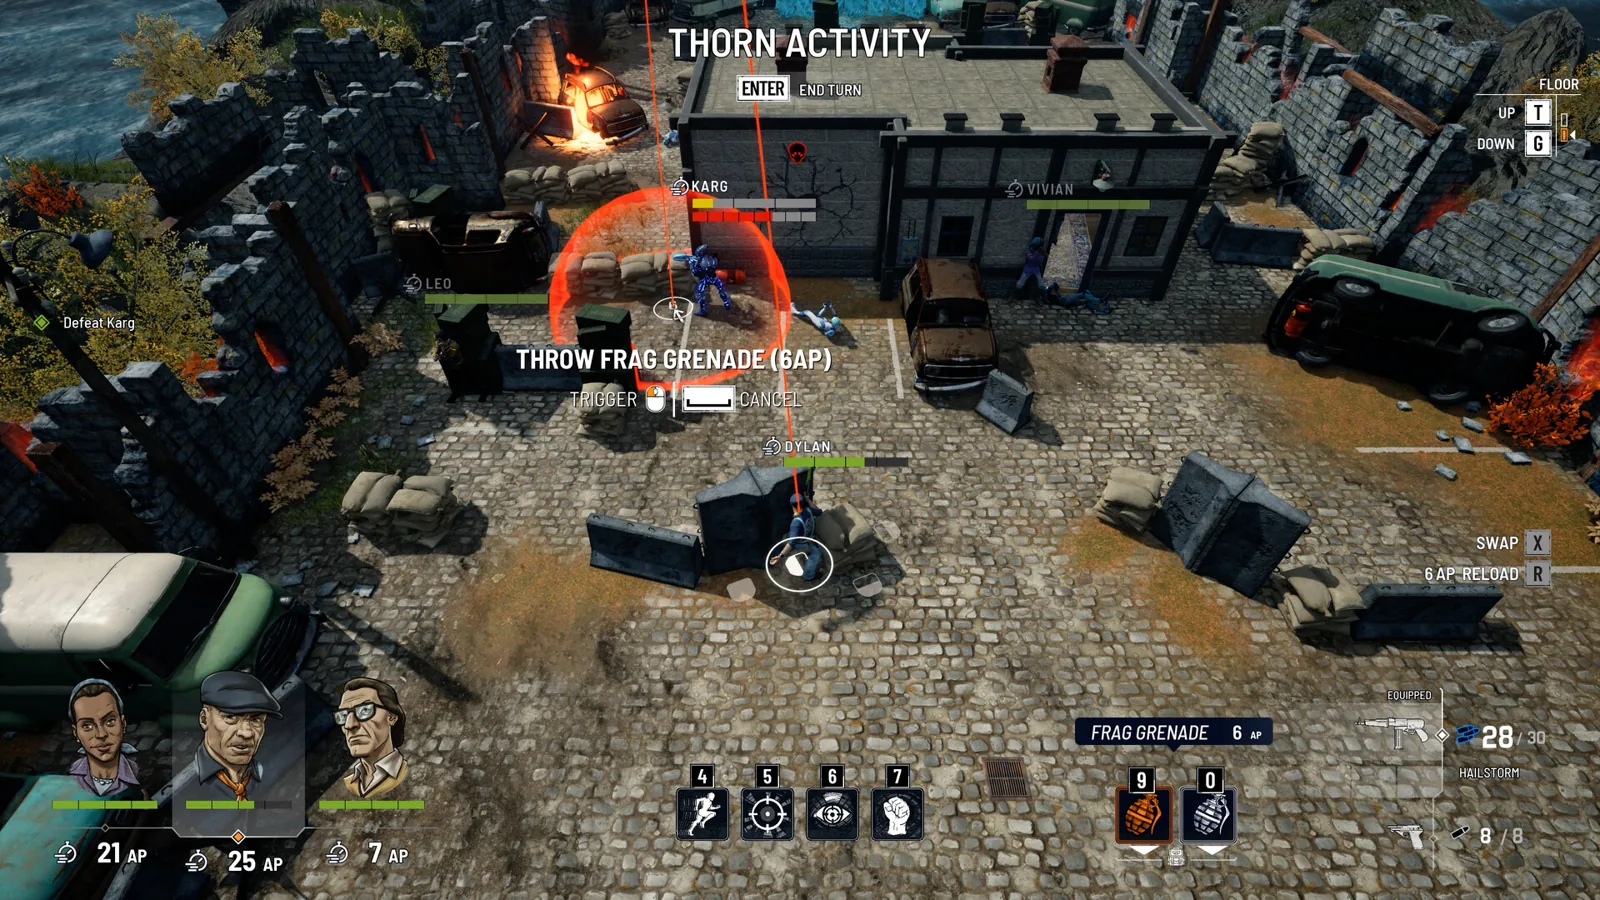
Every Day We Fight Heat Meter: Risk, Loot and Control
Heat is Every Day We Fight's risk-reward dial: higher heat means harder fights and better drops, and Sabotage and Ambush missions let you raise or lower it.
Weapons Guides Index
Every Day We Fight Weapons: Guns, Parts and Drops
How weapons work in Every Day We Fight: the guns added at 1.0, how parts and drops fit together, and which guns a player used against shields or armor.