
Every Day We Fight Heat Meter: Risk, Loot and Control
Heat is Every Day We Fight's risk-reward dial: higher heat means harder fights and better drops, and Sabotage and Ambush missions let you raise or lower it.
Table of Contents
In Every Day We Fight, the heat meter is a risk-reward dial rather than a stealth-style detection bar. Pushing heat higher means harder fights and better drops. The 1.0 update, released on 22 October 2026, reworked the meter so you push it up or pull it down deliberately instead of simply watching a number climb through a run.
What the heat meter actually does
The developer's 1.0 patch notes on the game's Steam page frame it directly: think of heat as a risk/reward mechanic, where high heat means harder fights and better drops. The notes leave low heat as the implied opposite — easier fights, thinner rewards — and describe the rework as giving you "control [of] the dial instead of just watching it climb."
That framing is the important part for new players. Heat is not a warning light telling you that you have been spotted; it is a setting for how punishing the next stretch of combat should be, and how much you get paid for accepting that punishment.
Raising and lowering heat: Sabotage and Ambush
1.0 added two mission types built around the meter, and they are the clearest supported way to move it in either direction.
| Mission type | What it does to heat | Why you would pick it |
|---|---|---|
| Sabotage | Lets you push heat as high as you dare | Better loot |
| Ambush | Brings heat back down | When the fighting is getting too hairy |
The practical read: if your squad is healthy and your gear is holding up, Sabotage is where you trade comfort for rewards. If a run is starting to wobble, Ambush is the pressure-release valve the notes point to. The notes describe the mechanic in general terms and do not list heat values, caps, or per-mission numbers, so treat any exact threshold you see quoted in a video or forum post as an estimate until you can check it in your own build.
Heat and difficulty
Heat was already interacting with difficulty before the rework. The 0.9 update notes from 26 June 2026 list "reduce heat level multipliers on high difficulties" among their balance changes, which tells you two useful things: heat levels scaled with the difficulty you chose, and the high-difficulty multipliers were softened in that patch. If you are playing on a hard difficulty and heat feels less brutal than older discussion suggests, that tuning pass is the likely reason.
Older builds
Sabotage and Ambush appear under "New Mission Types" in the 1.0 notes, so they are a 1.0 feature; an Early Access build from before 22 October 2026 will not have them, and the notes describe the earlier meter as something you watched climb rather than steered. General combat advice written during Early Access — such as the Epic Games Store guide to surviving the Rifters — predates the rework, so read it for fundamentals like first-person aiming, grenade use, and Overwatch, not for how the meter now behaves.
FAQ
What is the heat meter in Every Day We Fight?
It is a risk-reward dial for a run. High heat makes encounters harder and improves what you get for clearing them; low heat makes life easier and less lucrative.
Does higher heat mean better loot in Every Day We Fight?
According to the 1.0 patch notes, yes — high heat means harder fights and better drops. Sabotage missions exist specifically so you can push heat up in exchange for that better loot.
How do I bring heat back down?
Ambush missions are the route named in the 1.0 notes: they are described as the way to bring heat back down when things get too hairy.
Did the heat meter change in the 1.0 update?
It was reworked. The 1.0 notes describe the old meter as something you watched climb and the new one as a dial you control, with Sabotage and Ambush added as the mission types that move it up and down.
Related guides for this game
Combat Guides Index

Every Day We Fight Action Points: How the Turn Pool Works
Action Points pay for moving, shooting, reloading and Overwatch in Every Day We Fight, and leftovers can roll into the next turn.
Every Day We Fight how to break armor plates
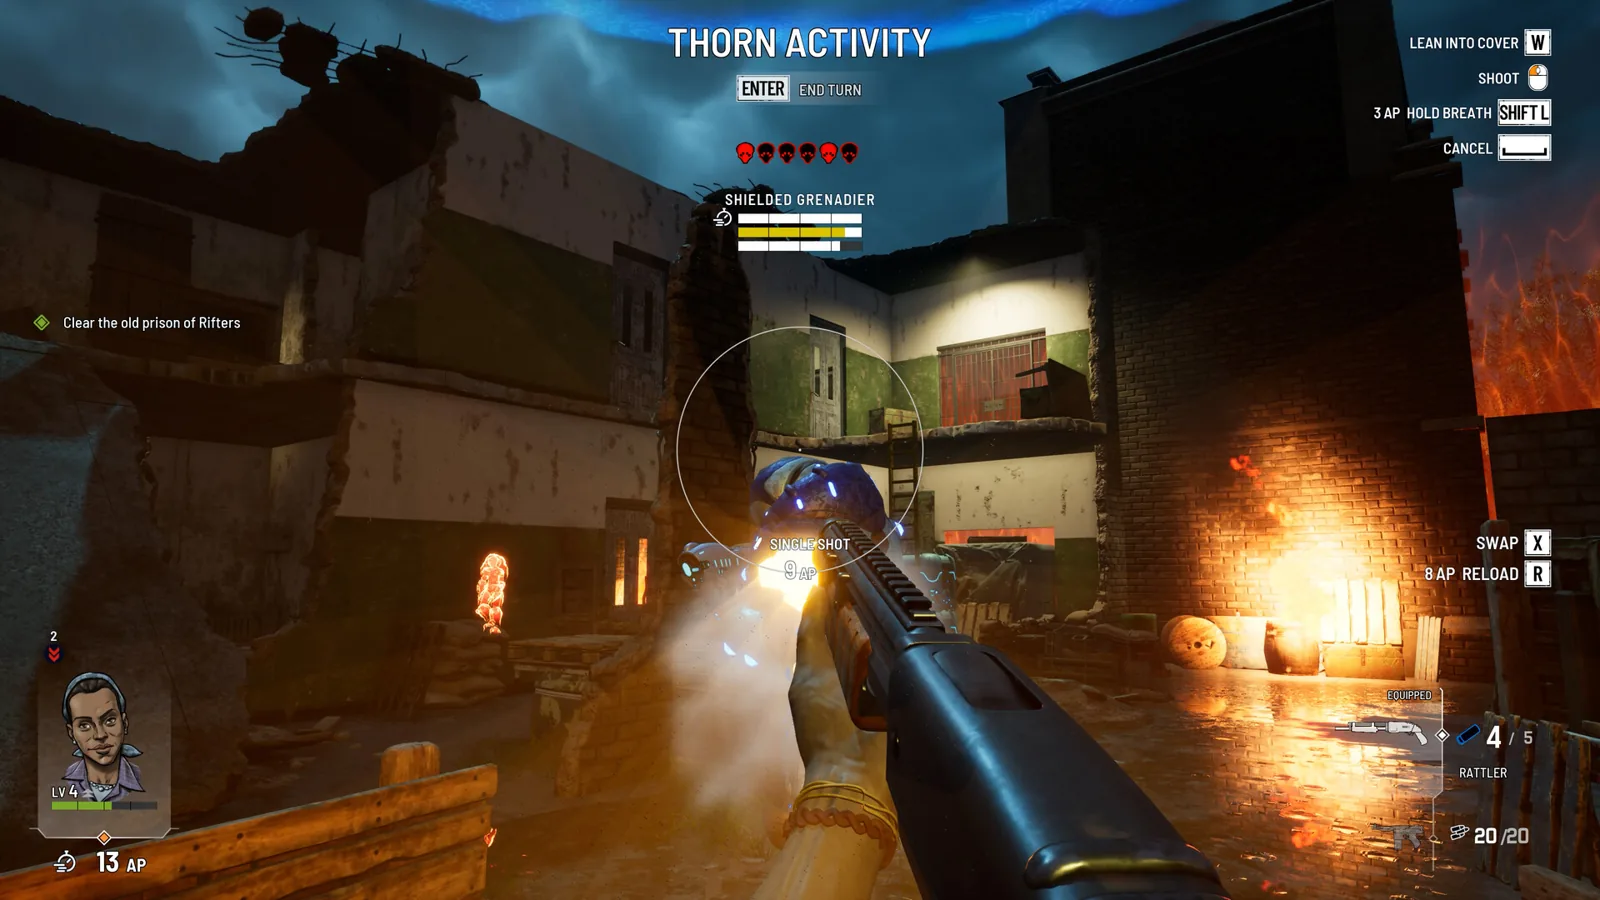
Armor in Every Day We Fight comes off plate by plate: aim at the head, chest, arms or legs, and read the damage preview to see armor versus HP.
Every Day We Fight Overwatch: Manual Reaction Shots
Overwatch in Every Day We Fight is a hands-on first-person shot you aim yourself. It costs action points and your Reflex, and locks you in place.
Every Day We Fight Reflexes: How Reactions Work
Reflex actions in Every Day We Fight explained: scrambling out of gunfire, Kill Assist, Covering Fire, Dylan's punch, and the Overwatch trade-off.
Guide Guides Index
Every Day We Fight Walkthrough: Opening and Combat
A practical Every Day We Fight walkthrough: the opening fights, aiming, cover, Overwatch, and what actually carries over between time loops.
Weapons Guides Index
Every Day We Fight Weapons: Guns, Parts and Drops
How weapons work in Every Day We Fight: the guns added at 1.0, how parts and drops fit together, and which guns a player used against shields or armor.